
How to Install A Mailbox
Mailbox Installation Guide
Is it time to replace your old, outdated mailbox? Or, are you installing a mailbox for your new home? Many homeowners can handle this home improvement project without the services of a professional. But, it is important that you follow certain guidelines so that the mailbox installation matches the requirements set by the postal service.
Mailbox Guidelines from the United States Postal Service
It is essential that you consider the guidelines established by USPS for mailbox placement. Failing to follow these rules might result in a situation where the mail carrier withholds delivery to your home.
These are a few guidelines that you should follow:

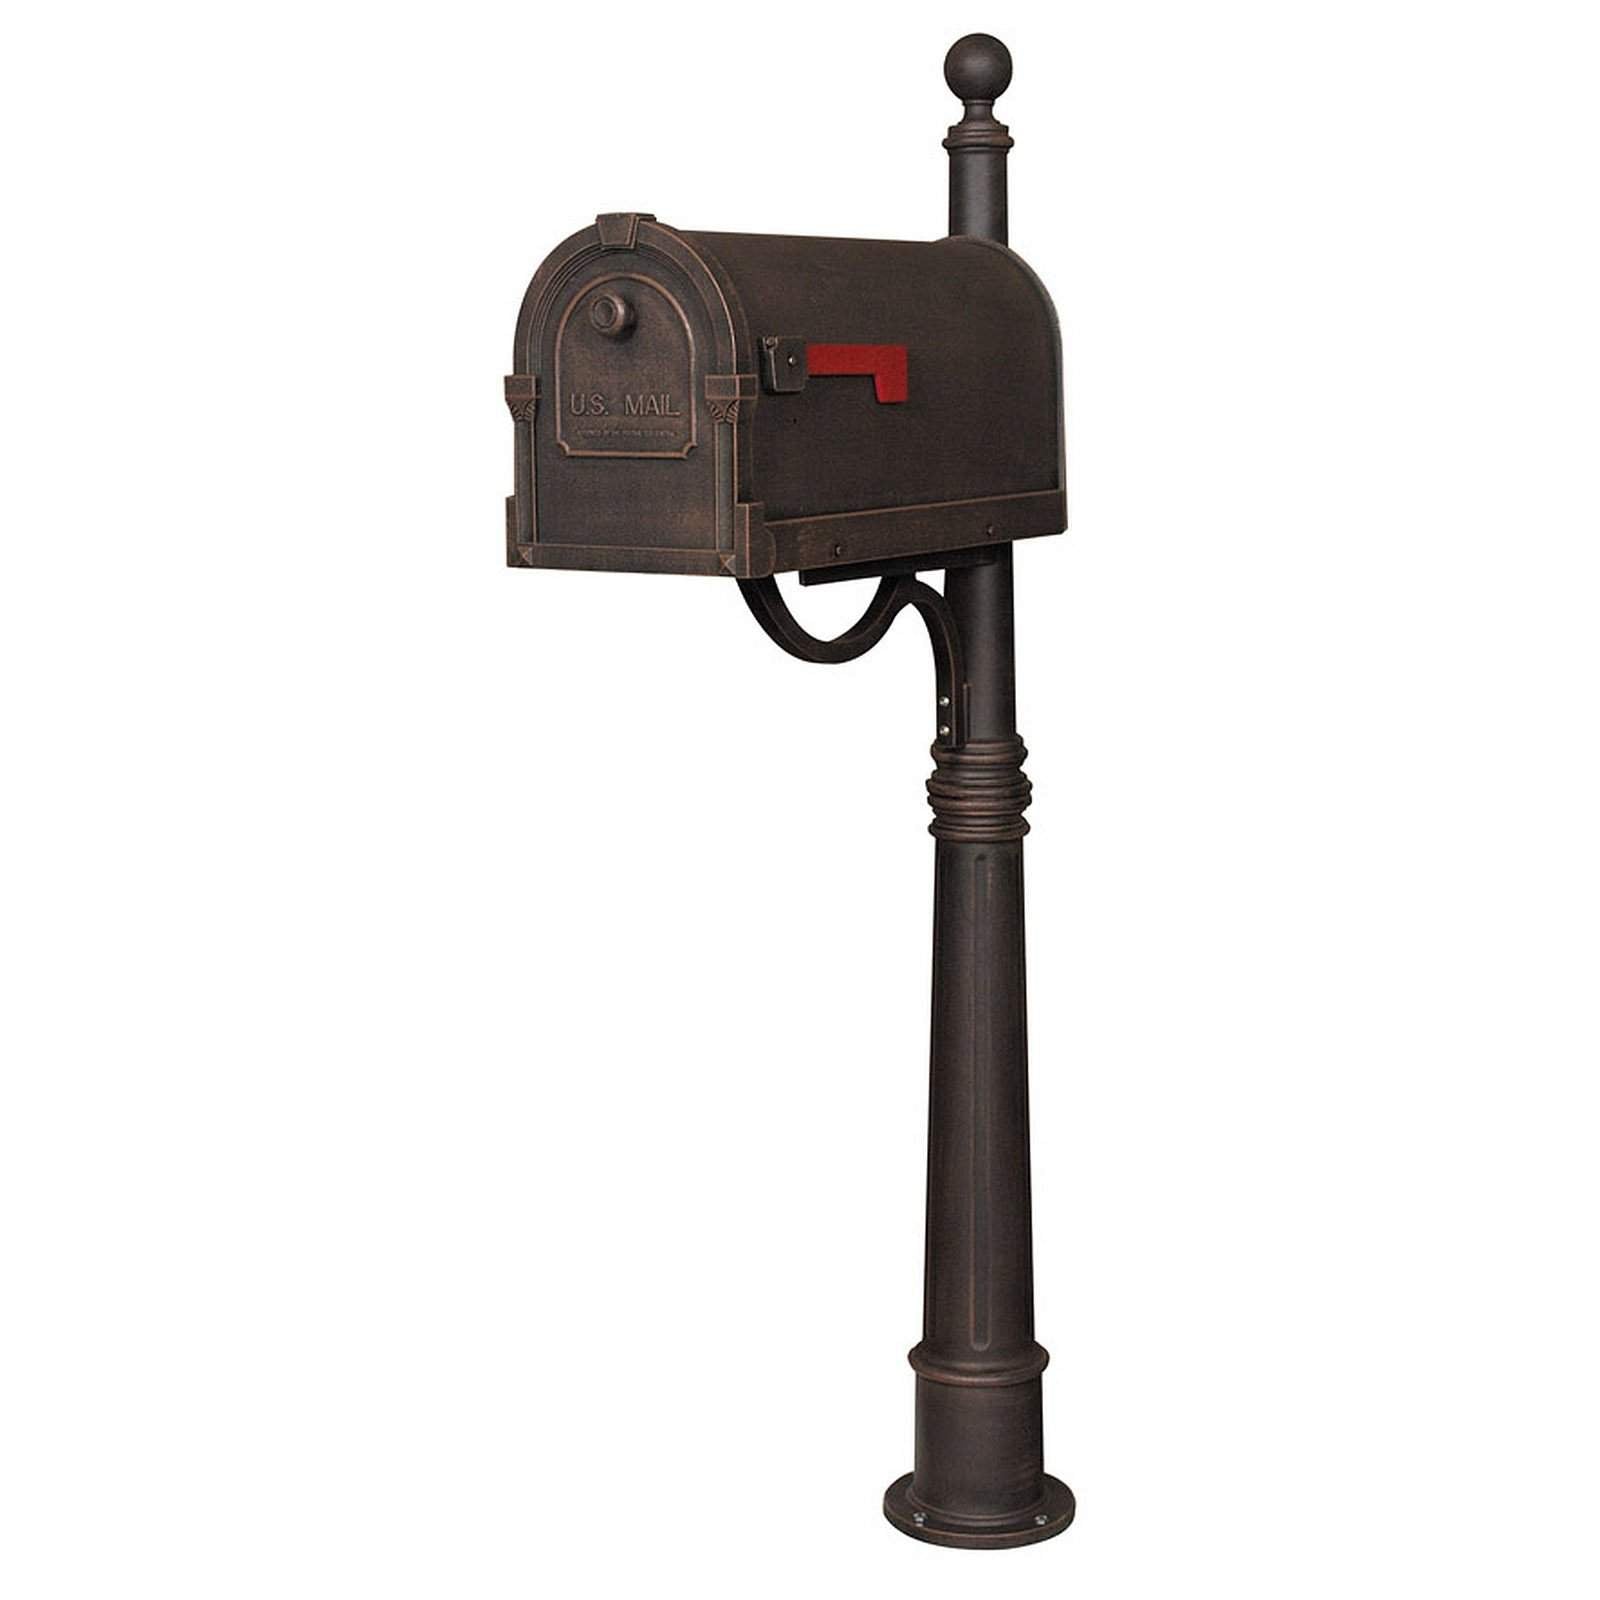
- Use a mailbox that is US Postmaster approved.
- If you construct a box, then it needs to meet the same standards as manufactured mailboxes.
- The measurement from the road surface to the point of mail entry should be between 41 and 45 inches.
- Mailboxes should be placed between 6 and 8 inches away from the curb. If you don’t have a raised curb, then you should talk to your postmaster about local guidelines.
- The mailbox should have your house number labeled on the box. When the mailbox is placed on a different street from your house, then the full address should be placed on the box.
- When the mailbox is attached to the house, it should be easy to reach from the porch, steps, or sidewalk.
These guidelines are designed so that the mail carrier doesn’t need to leave the vehicle for curbside delivery. So, be aware of anything in the area that might obstruct access to your mailbox.
Step-By-Step Instructions for Mailbox Installation
Before you start the installation, it is important to gather the supplies and tools that will be needed: a posthole digger (or shovel), laser level, screwdriver, screws, concrete, mailbox post, 2x4 boards, and the mailbox. Most people can complete the project in a 1/2 day if they are prepared with the equipment that is needed.
After you have gathered the supplies, follow these steps:

If you are replacing an existing mailbox, then you need to remove the old materials and get rid of the cement base. Unfortunately, this step can sometimes be the hardest part because you need to remove the old cement. In some situations, you might be able to place the new mailbox on the original post. Check the quality of the wood post before deciding if the post needs to be replaced.

Use the post hole digger to create a hole for the mailbox post. If you don’t have a post hole digger, a shovel can be used. The hole should be deep enough to secure the post at the right height, matching the guidelines listed above. The post shouldn’t be buried any deeper than 24 inches. Make the hole wide enough for the cement that will be the foundation for the post.

Once the post is placed in the hole, the laser level can be utilized to ensure that it is at a 90-degree angle from the ground. Screw on the 2x4’s to create two or more temporary supports, on the front and back of the post.

The next step is to add the quick-drying concrete in the hole. Follow the instructions on the concrete bag to add water and mix it. Then, pour the mixed concrete into the hole. Leave 3 or 4 inches of extra space between the top of the concrete and the ground level. The 2x4’s will hold the post steady while the cement dries, then you can remove the support beams.

Now that the cement is set and the post is sturdy, you can attach the mailbox to the top of the post. Many mailboxes come with a wood anchor to use as an attachment. Or, you can create an anchor with extra wood pieces as needed. The anchor needs to be screwed onto the mailbox, and then screwed onto the post.

If desired, fill in the top of the dried cement with the dirt that you dug out of the hole. You can also place grass seeds or other landscaping features to make it look nice. Don’t forget to add your house number or address in a visible location on the mailbox for the postmaster.
Do You Need to “Call Before You Dig” for a Mailbox Post?
It never hurts to call the utility company to ensure that there aren’t any utility lines located beneath your preferred mailbox location. But, the depth of a hole for a mailbox or fence post is usually only 2 or 3 feet, which isn’t deep enough to hit lines or electric, telephone, or gas utilities.
Even if you don’t need to call the utility company before you dig, be careful to avoid lines that you put in the ground. For example, watch out for sprinkler pipes or other objects that might be in the way of your mailbox placement.
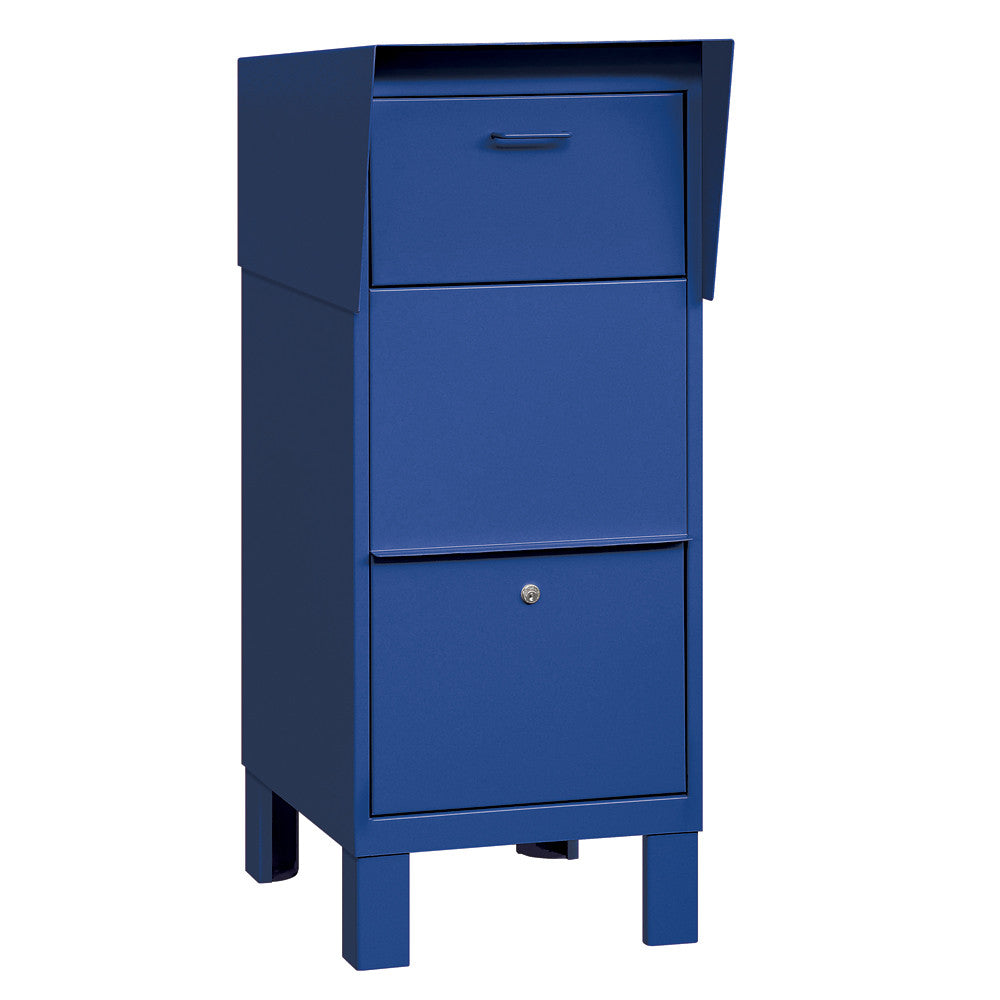
Choose a New Mailbox for Your Home
Here at Prime Mailboxes, we offer the best selection mailboxes for residential and commercial installation. Feel free to browse our selection to find the right mailbox for your renovation project.